
I had a short wander around South Parish yesterday looking for a little inspiration. The gardens of Nano Nagle Place are lovely. Very calm, very peaceful. I just brought the fixed 28mm f2.8 lens and took a few photos. They don’t really do it justice.
But I wanted to show how post-production can improve an image, even if it can’t make an uninspired photo great.
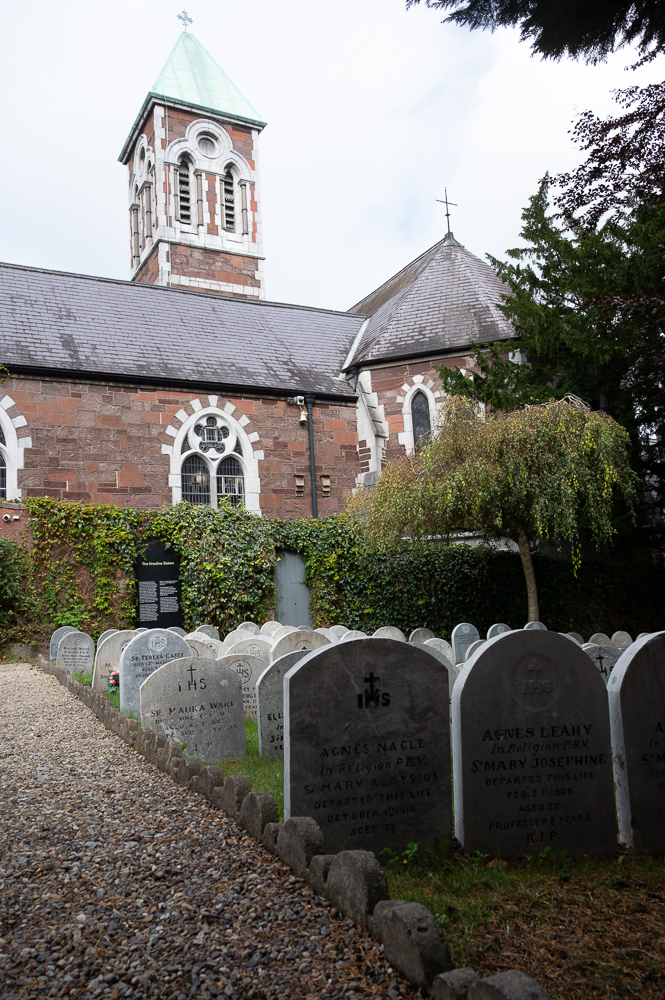
This is a familiar situation: the foreground in quite deep shade and the sky is much brighter. I’ve exposed somewhere in the middle.
There are a few ways to deal with this:
- Introduce additional lighting to the darker areas and expose for the brighter areas. This usually means a flash but can be a reflector. This introduces a few problems to solve: the correct balanced exposure between flash and ambient (assuming you can get enough power from the flash to compete with the daylight); the quality of the light produced by the flash (watch out for nasty, flat on-camera lighting); the colour temperature of the flash compared to the ambient (did you bring gels too?).
- Combine two or more exposures
- Manually using two or three metered exposures. One of the sky, one for the building and one for the shaded stones. Then combining them in Photoshop/GIMP selecting the bits you want. Or using HDR tools in Lightroom to do it automatically. Your different images need to overlay each other perfectly to combine easily.
- Using automated HDR tools on you camera. Depending on your camera this may be easy or may still require some work in post production. Again the less you move the camera between exposures the better. Your phone probably deals with this best TBH.
- Taking one image in RAW format and using the dynamic range of your cameras sensor to try and recover as much as possible.
Now I had no flash and no tripod and in fact I had to use the screen on tilt to push the camera to the far corner of the graveyard to get as much in as possible with the 28mm (so it was a bit wobbly and hard to get straight). Even though it’s now 2 generations old, the Nikon Z6 still has class-leading dynamic range so let’s see how we get on.
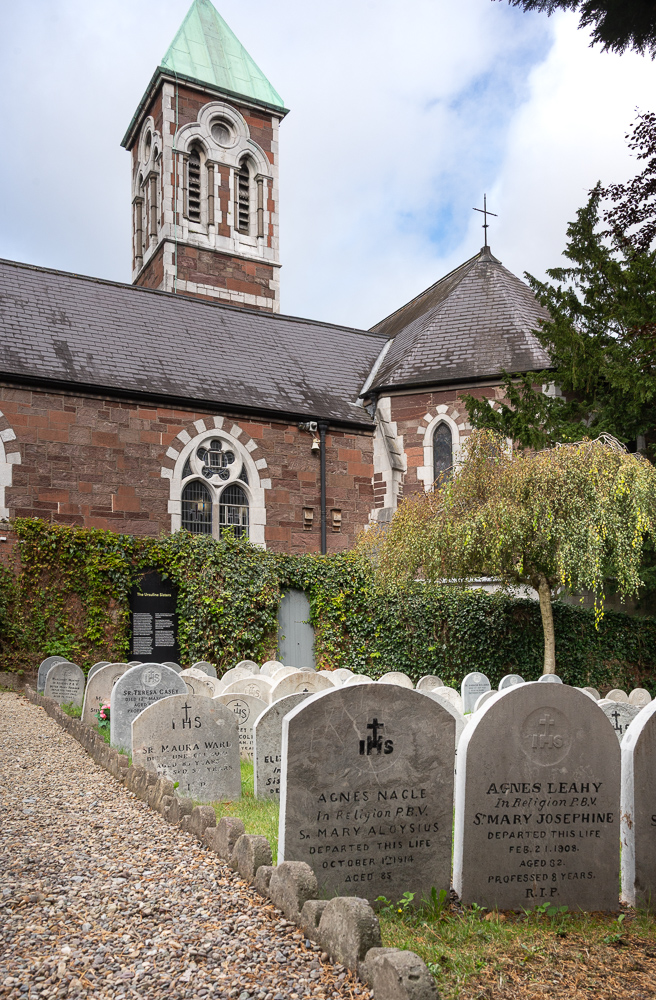
So Lightroom was able to do a huge amount to balance the overall exposure. I recovered the shadow area (simple gradient mask) and the sky (using the AI sky detect mask). Warmed it up and bit and improved the colours. I could have made the front stones the same as the others but I like them a little darker.
I also used the Transform tools to straighten out the building and fix the wide-angle ‘lean back’ look. However in doing so I lost the very top of the spire.
I thought that wasn’t necessary so I undid the transform and sent it to GIMP. A simple overall skew allowed me to straighten the building and keep the top of the spire. It’s not quite the same and in this case the gravestones aren’t straight anyway so it’s better overall.
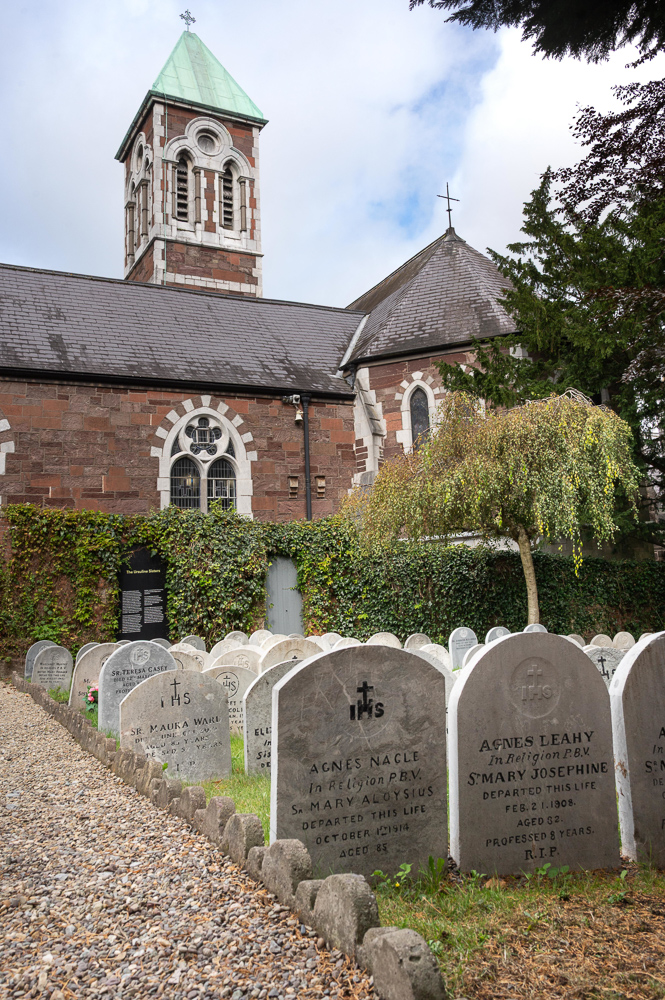
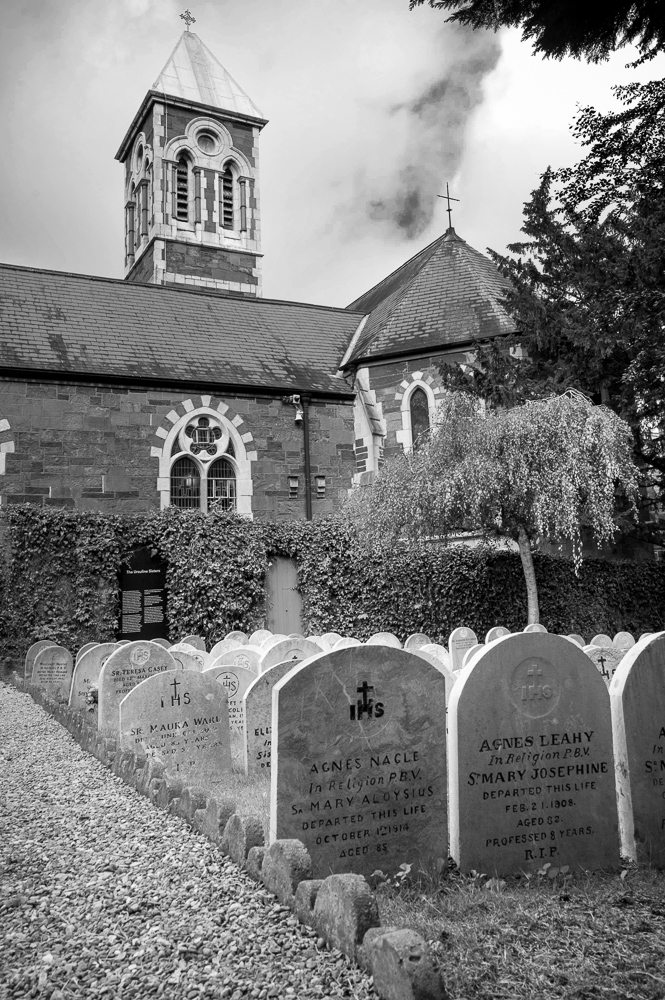
Does the black and white make it stronger? Back in Lightroom I’m using the black and white tools there to add contrast, create a full black, darken the blue of the sky for more drama, lighten the greens and the orange (of the building). A black and white conversion can’t rescue a mediocre photo. It draws the viewers attention more to the structure and simple tones of the image where the colour might distract.
I could probably have waited for ‘better’ clouds – more blue and nice fluffy whites.
I see a lot of people using the AI tools in these products to try and enhance their images but it helps if the fundamentals of the image are strong in the first place. The main culprit is crude pulling back of the sky – often with a mask that includes towers like this one so that they go dark as well. Looks bad to me. It’s worth learning to use these tools properly and being sensitive with their use.